It’s been almost three weeks since my last post and some further progress has been made. I’ve upgraded the microcontroller and can now control the gain of the second amplifier stage in software. But let’s look at the changes in some more detail.
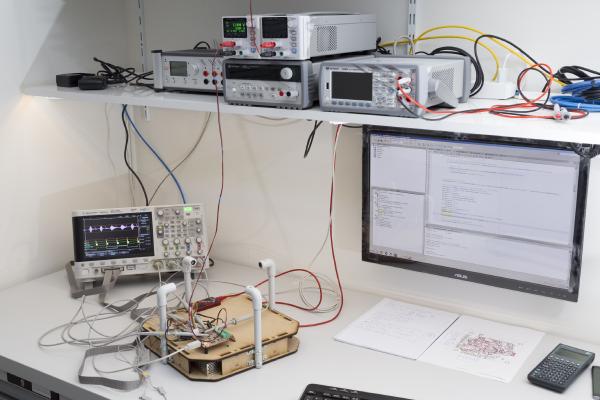
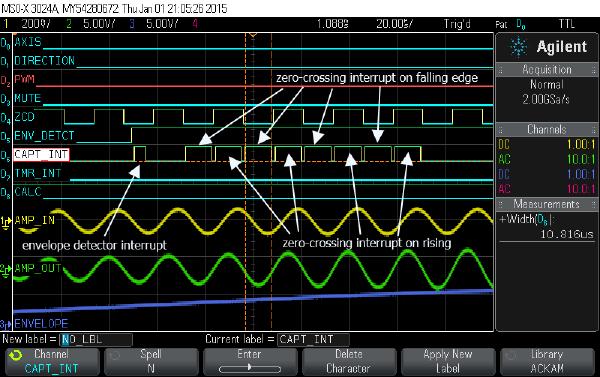
Last time I showed you the nice new hardware of the new standalone ultrasonic anemometer. But at that time I had hardly any software written for it so I couldn’t do much with its 32 bit microcontroller. So the last two or three weeks I spend lots of time writing code that I’d like to share with you today.
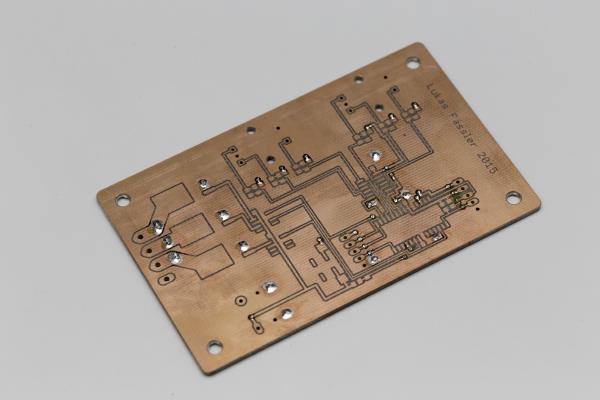
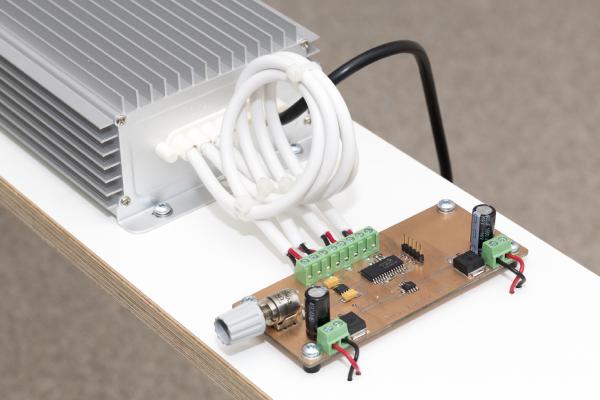
Last time I went through the design of my new standalone anemometer. Now it’s time to build this thing and see if it works as planned.
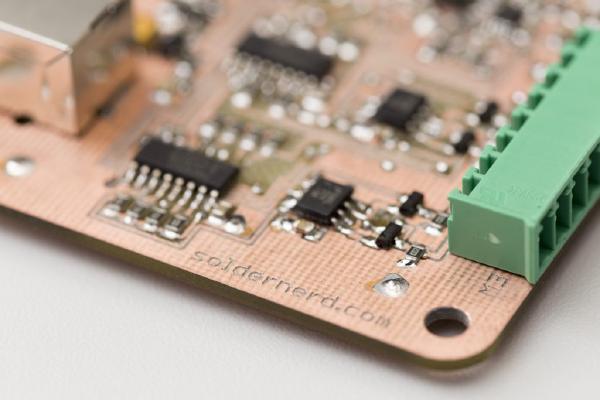
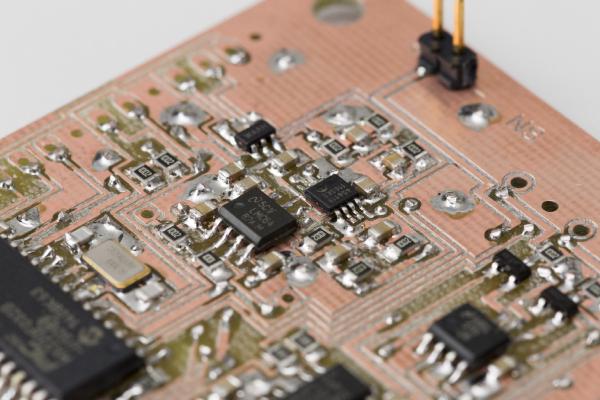
After I fried a couple of chips on my driver circuit testing board due to a wrong chip in the power supply I was a bit more careful this time and built up the board step by step.
Finished RGB dimmer In my last post I’ve described the design and construction of my LED dimmer project. This project here is similar but a bit more involved. It controls RGB LEDs so it can not only change the brightness but also the color of the light. Instead of a simple pot it used a pair of rotary encoders with push buttons. One controls the brightness, pushing its button turns the light on or off. The other changes the color, pushing its button toggles between color and white.
Finished LED dimmer I have recently moved to a new apartment and was looking for a PWM dimmer to control some 12V LED strips. I thought that should be easy enough nowadays but it proved more difficult than I thought. All I found either didn’t meet my requirements, were uggly or expensive. So I decided to build my own, tailor-made to my needs.
It’s been a while since the last post of this series. As so often, the task turned out to be more demanding than I first thought. And then I was also entirely new to assembly language, got distracted by my Inductance Meter Project (/posts/arduino-based-inductance-meter/) and went on a skiing holiday. But finally, the promised library is ready.
This is just a very brief update on what I’ve been working on the last few days. By now, this blog has caught up with where the project currently stands so the blog posts won’t be quite as frequent as they used to be. When I just started this series I had already worked on this my wind meter project for two months so I had plenty of material I only had to post.
Today I’ll tell you how I got started with my software. If you’re new to my blog you might want to click here for an overview over my arduino-based wind meter project: /projects/arduino-ultrasonic-anemometer/