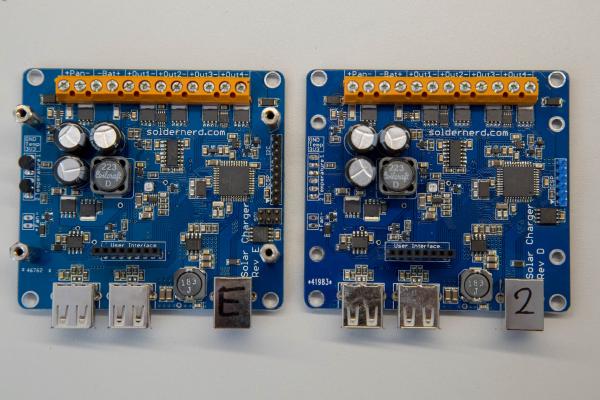
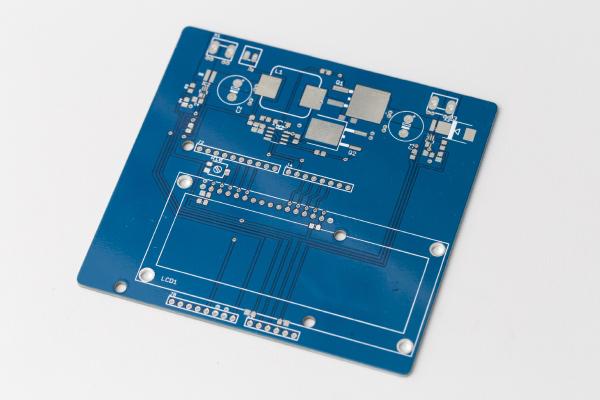
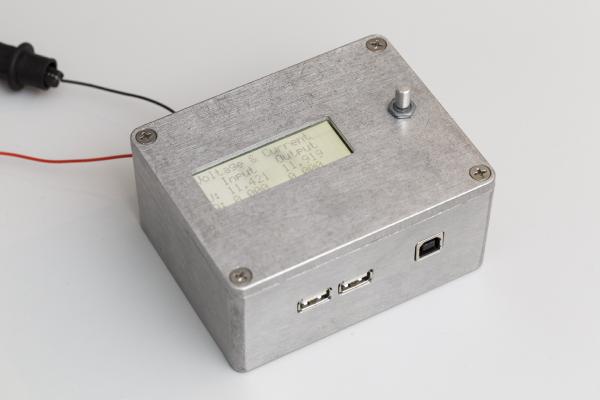
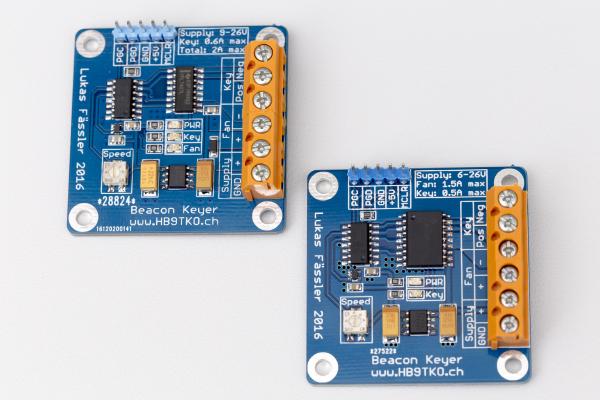
A reader of this blog was so kind to send me a number of surplus boards of two of my solar charger designs. Thank you, Joachim.
It’s been almost two years since I did (or at least started) this project but I never sat down to document it. That’s what I want to do today. As the title says it’s about a little robot based on a RaspberryPi. Like many of its kind it is driven by a pair of stepper motors each driving a wheel directly attached to the respective motor axis. At the back there is another smaller, pivotable wheel to keep the robot in balance.
It’s been a while since I posted anything related to my MPPT Solar Charger project. That doesn’t mean that no progress has been made…
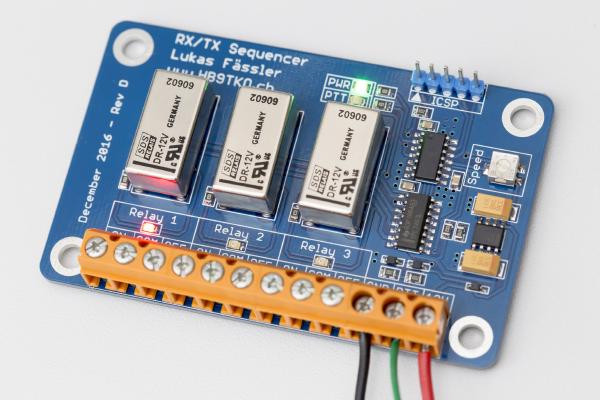
Much like the beacon keyer presented here earlier, this RX/TX sequencer is a simple but useful little device. Its typical use is in ham radio applications when a separate power amplifier (PA) and/or a sensitive low-noise pre-amplifier (LNA) is used. Care has then to be take to safely transition between RX and TX states - and that’s where this sequencer comes in.
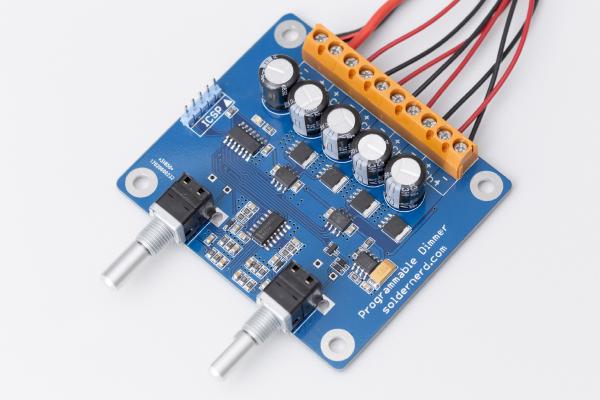
Around one and a half years ago I’ve designed and built various LED dimmers for both white and RGB LEDs. Then late last year someone approached me asking if I could make an RGB dimmer for him, too. But my designs were really tailored to their specific applications and built with home-made, i.e. milled PCBs which are time-consuming to make. So I decided to make a more universal version based on a proper, etched board which could be built in a small series and used for all kind of applications, both white and RGB. The result is this versatile, programmable 4-channel dimmer.
This is likely the first ham radio related project that I document here on this blog. But my very first PIC project was a beacon keyer that I made for my father, HB9BBD. That was was in 2013. A beacon keyer is a great project to get started with microcontrollers since it’s not much more than a fancy way of blinking an LED.
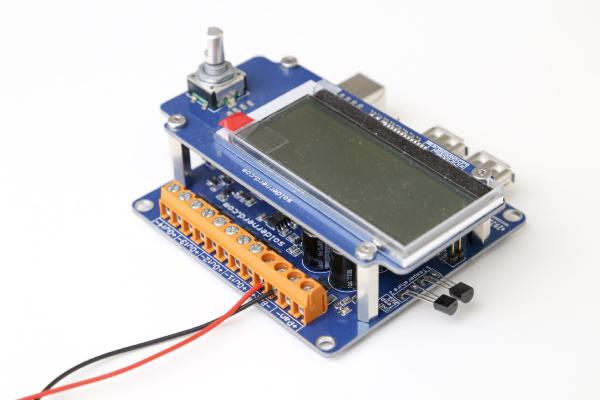
Over the last few weeks I have been quite busy with my MPPT Solar Charger project. I’ve built up a first board and started writing firmware for it. Since the last version was not too different in terms of hardware I was able to re-use most of that code. But I hadn’t even touched on the whole USB stuff back then so there was still a lot of work to do. While the project is still far from being complete I am happy to say that I’ve made quite some progress. Most importantly, the new design seems to work well and so far I haven’t found any mistakes in the board layout. But let’s go through this step by step.
Over the last year or so I’ve designed, built and tested a standalone solar charger. It performed quite well but as with any complex design there were a number of things that needed to be improved. So I eventually reached the point where I decided to design a revised version. And this is what this post is all about.
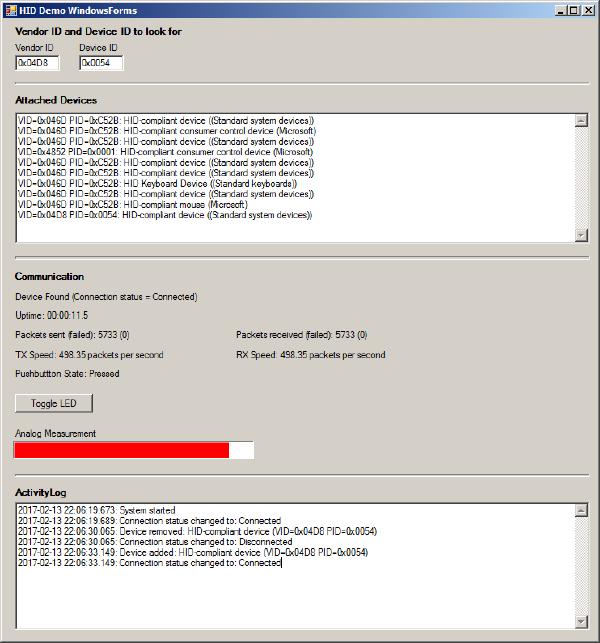
Have you ever tried to write a program that connects to some device via USB? I have done so a few years ago and was shocked how much of a pain that is (at least on a Windows plattform). I always thought there should be a nice little library that wraps all those uggly DLL imports, marshalling and COM API calls and offers a nice and clean C# interface to the outside world.